I’m not a big fan of cream eyeshadows. I have oily lids and cream formulas on me crease faster than you can say “eyeshadow!”
But last week, I accidentally dropped a couple of powder eyeshadow to the ground and they smashed into a thousands pieces. *cries*
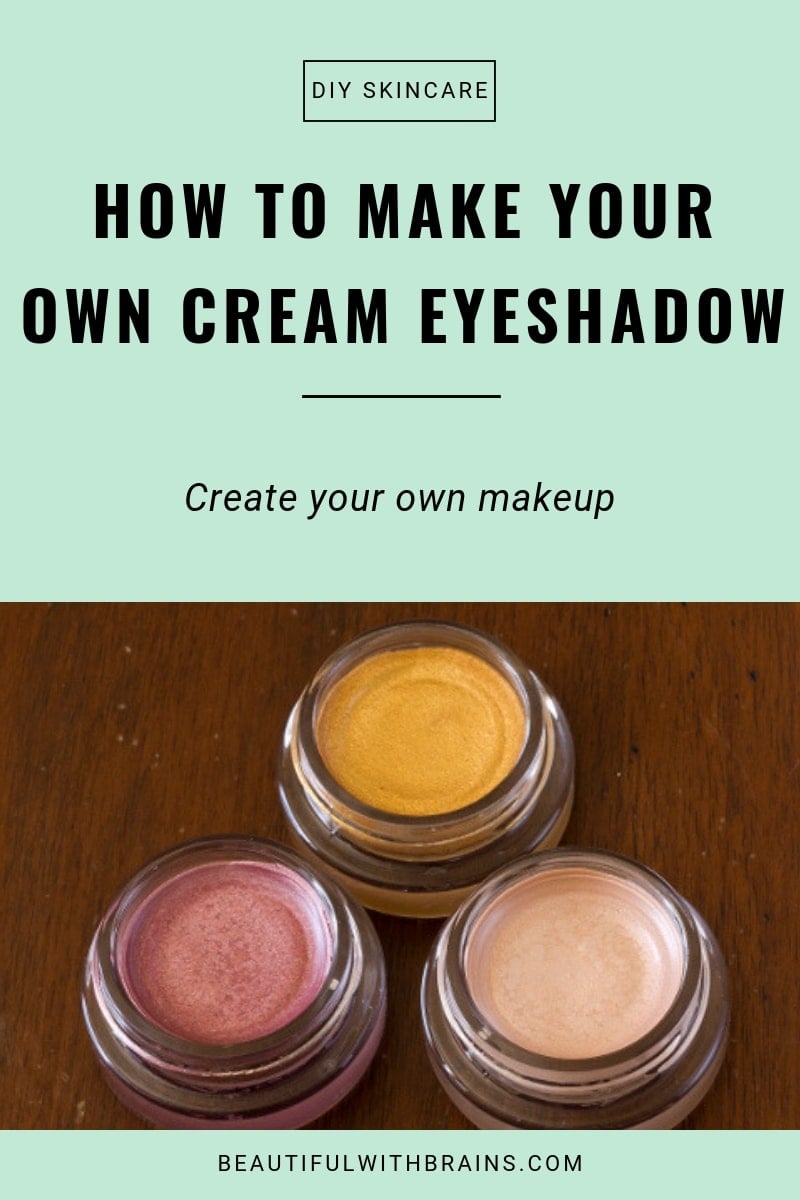
I didn’t want to let them go to waste so I rescued what could be rescued and decided to use the broken bits to make my own cream eyeshadows. Here’s how you can do the same, too.
How To Make Your Own Cream Eyeshadows
WHAT YOU’LL NEED
- Loose eyeshadows (any pressed eyeshadow that got smashed into a thousand pieces is fine, too)
- Clear gloss or vaseline
- Q-tip or spatula
- Clean container
P.S. You can use intact pressed eyeshadows, too. You’ll just need a scraper to scrape it out of the pan.
Related: 22 Surprising Beauty Uses For Vaseline
ALTERNATIVE MIX-INS
If Vaseline or clear gloss isn’t your thing, you can also use:
- Eye-safe mixing mediums, like Inglot Duraline, which helps create a more long-wearing, smudge-proof texture.
- Aloe vera gel for a slightly thinner, skin-friendly alternative.
- Unscented eye-safe balms for a richer, creamier texture that won’t slide around as much.
WARNING! Before mixing any loose pigment, clear gloss or lip balm, make sure they are approved for use around the eyes. A quick way to do this is to compare their ingredient lists with those of your eye products. If you find any ingredients in a lip balm that aren’t used in any of your eyeshadows/primers/eyeliners etc, don’t risk it.
DIRECTIONS
1. Sanitize Everything
Before you start, clean the container you’ll use to house your new cream eyeshadow well. Yes, even if it’s brand new. You never know where it’s been, and you don’t want to risk anything nasty ending up in your eyes.
2. Choose Your Base Formula
- For a sheer, glossy look: Use more gloss or Vaseline and less eyeshadow pigment.
- For a highly pigmented, bold look: Use more eyeshadow pigment and just a small amount of mixing medium.
- For a long-wearing, crease-resistant formula: Try mixing a tiny bit of eyeshadow primer into your blend to help with staying power.
3. Mix the Ingredients
Once the container is dry, mix the eyeshadow with either a clear gloss or Vaseline. Start with a small amount and add more as needed until you get consistency you want.
PRO TIP: If you want a softer blend, crush the eyeshadow powder into an ultra-fine texture before mixing. The finer the powder, the smoother your cream shadow will apply.
4. Stir Until Smooth
Use a Q-tip, spatula, or even a small brush to mix well and eliminate lumps. The more you mix, the smoother and more even the texture will be.
5. Test the Texture
Swatch a bit on the back of your hand or your eyelid to check if the consistency is to your liking. If it’s too thick or dry, add a little more gloss or Vaseline. If it’s too thin, add a bit more pigment.
How To Store & Use Your DIY Cream Eyeshadow
Once you’re happy with your custom cream shadow, seal the container tightly so it won’t dry out. Store it in a cool, dry place to keep the texture fresh.
To apply, use your fingers for a quick, sheer wash of color, or a flat synthetic brush for a more precise and pigmented application.
FAQS
How long does DIY cream eyeshadow last?
If stored properly in a clean, airtight container, your DIY cream eyeshadow should last about 3–6 months. Said that, if you notice any changes in smell, texture, or appearance, toss it out!
Will this work for all skin types?
If you have oily lids (like me!), setting your cream shadow with a matching powder eyeshadow or a translucent setting powder will help it last longer. You can also apply an eyeshadow primer underneath to reduce creasing.
Can I mix different eyeshadows?
Absolutely! Get creative and blend multiple shades together for a custom color. It’s so much fun!
Is it safe to use lip gloss or lip balm in my DIY eyeshadow?
Only if the ingredients are eye-safe! Some lip products contain dyes or fragrances that may irritate the eyes. Always double-check the ingredients and label before using them.
My DIY cream shadow is too sticky. What can I do?
If your formula feels too tacky, mix in a small amount of loose setting powder or finely milled translucent powder to mattify the texture.
The Bottom Line
DIY cream eyeshadow is an easy way to save broken powders and create custom shades that work for you. Play around with textures, tweak the formula, and make it your own. Got oily lids? Set it with powder or use a primer. Want a bolder look? Add more pigment. The best part? No wasted eyeshadow. Just creamy, blendable color exactly how you like it. Happy mixing!
When I break a powder eyeshadow, I just repress it – there are lots of tutorials online.
If I mixed it with something like this, I’d be worried about creasing – it seems like commercial cream eyeshadows have a very different consistency than gloss or balm. But this is definitely intriguing!
Emi, I use to repress them too but then I found out this trick and really love the result. But as is the case with most cream eyeshadows, you will need to use a primer to avoid your homemade cream shadow from creasing. But then I always use a primer anyway.
I love DIY tips on a tonne of things but a cream eyeshadow is one thing I never considered. Fantastic idea, I can’t wait to try it!
Hafsa, it’s a shame this “recipe” is not more commonly known as cream eyeshadows are fun to make and a great way to use broken eyeshadows. 🙂
You don’t have any problems with them creasing with your oily lids? Which works best to help avoid the creasing- you mention a few different mixing mediums.
Lorraine, when I use them on their own, yes, they crease. On me, vaseline works best.
It’s seems to be a very good trick!!! 😉 ciao! 🙂
Frak13, it’s very nice and handy trick indeed. 🙂
Gio,
My shadows are to oily how dip I fix thGood, thank you.
Jessica, I’m not sure I understand what too oily means? If you mean they crease, you need to use an eyeshadow primer. My fave is Too Faced Shadow Insurance.